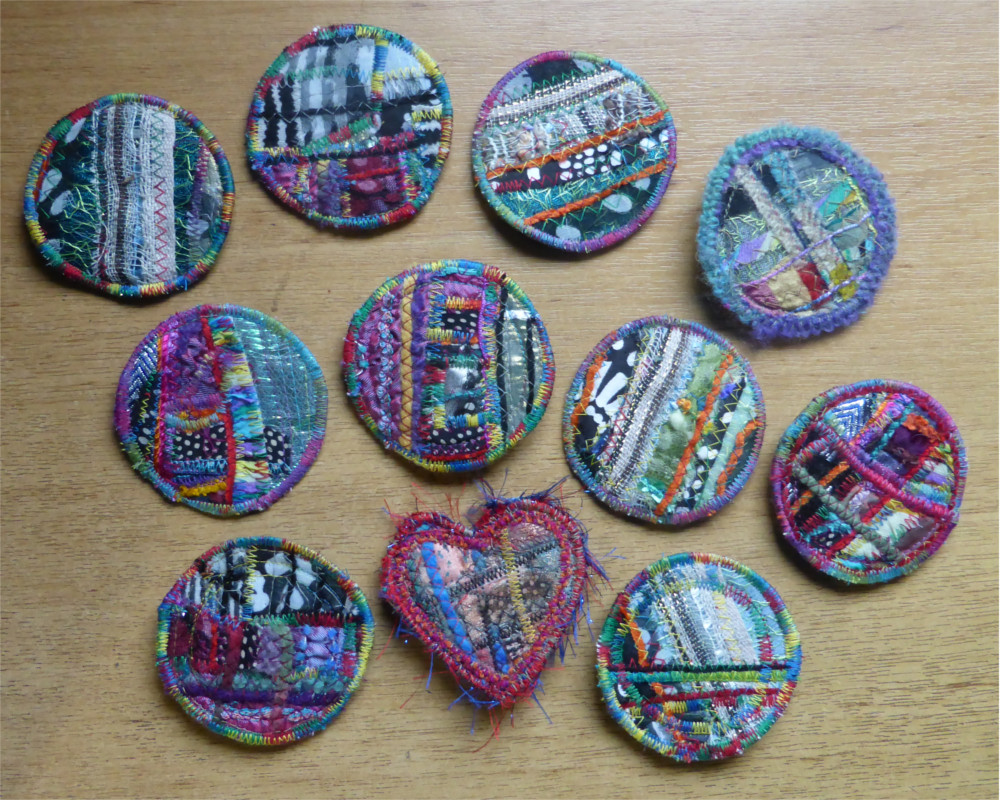
A couple of folks on my Facebook page asked about how I made my scrappy brooches, and as it happens I recently made a step-by-step record of the process.
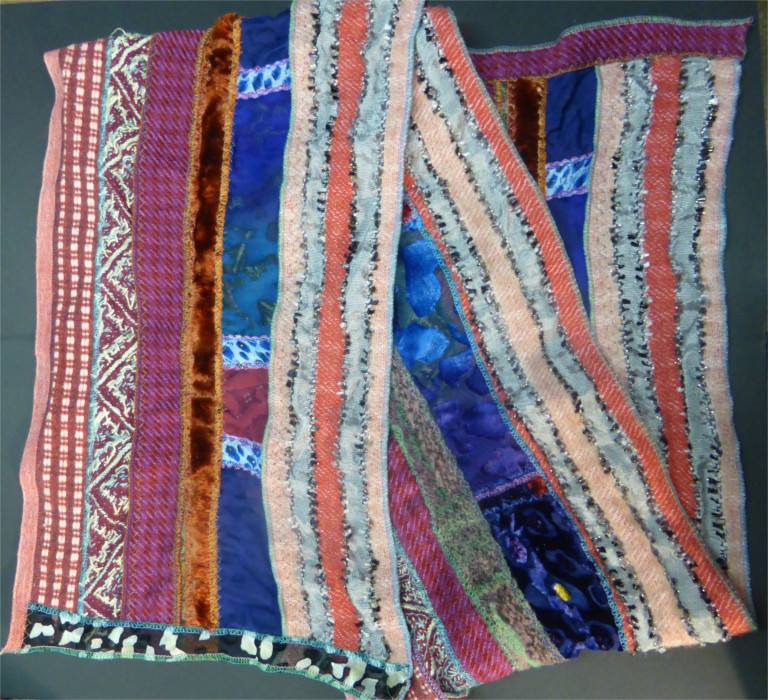
I made this scarf using my overlock/serger and was left with a pile of scraps…….
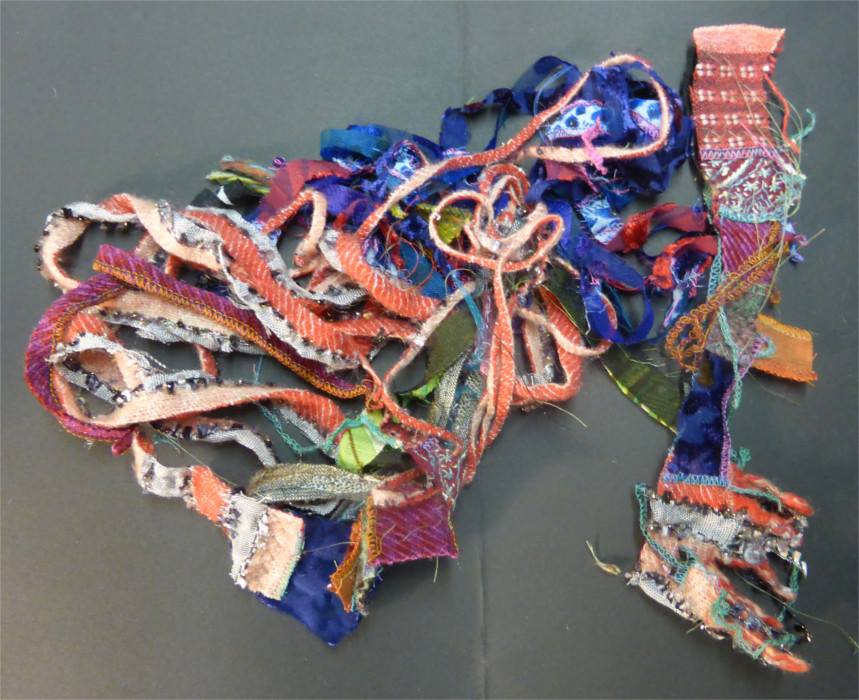
these are some of the scraps left over from the scarf..

this is what I use as the base of my textile pieces, a open weave mesh, and some tulle or organza? not sure of it’s correct name…
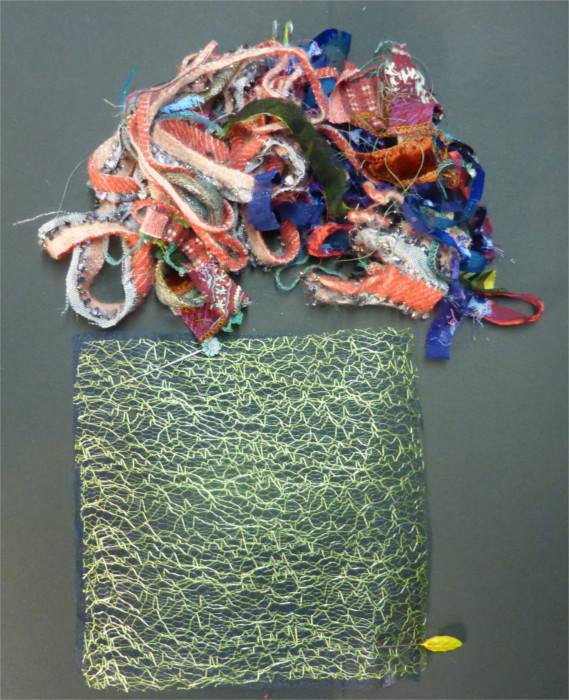
I cut a 5 inch square from both pieces of fabric….
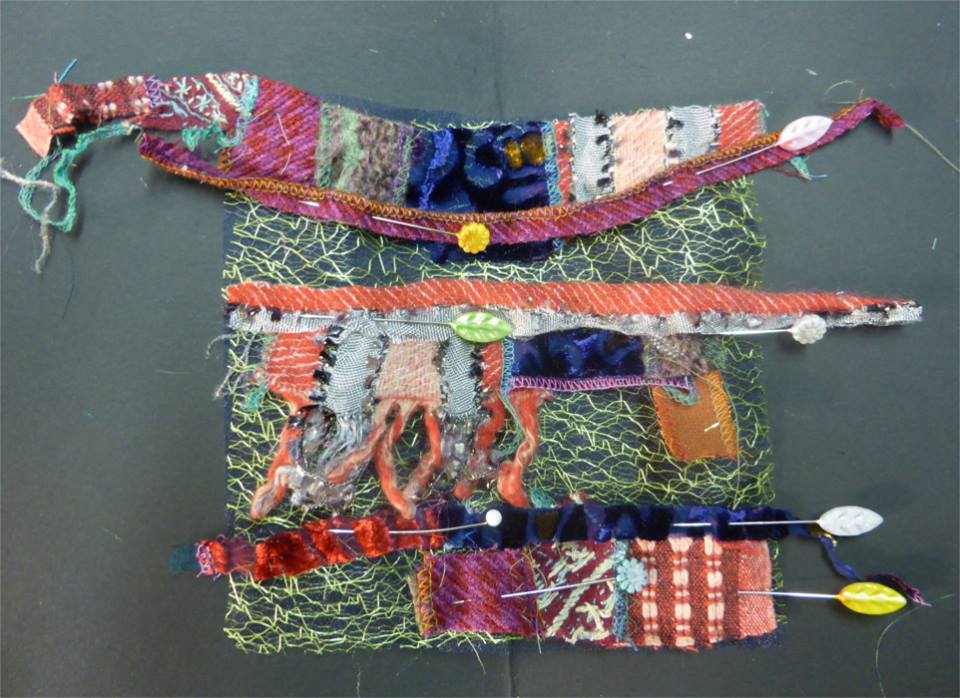
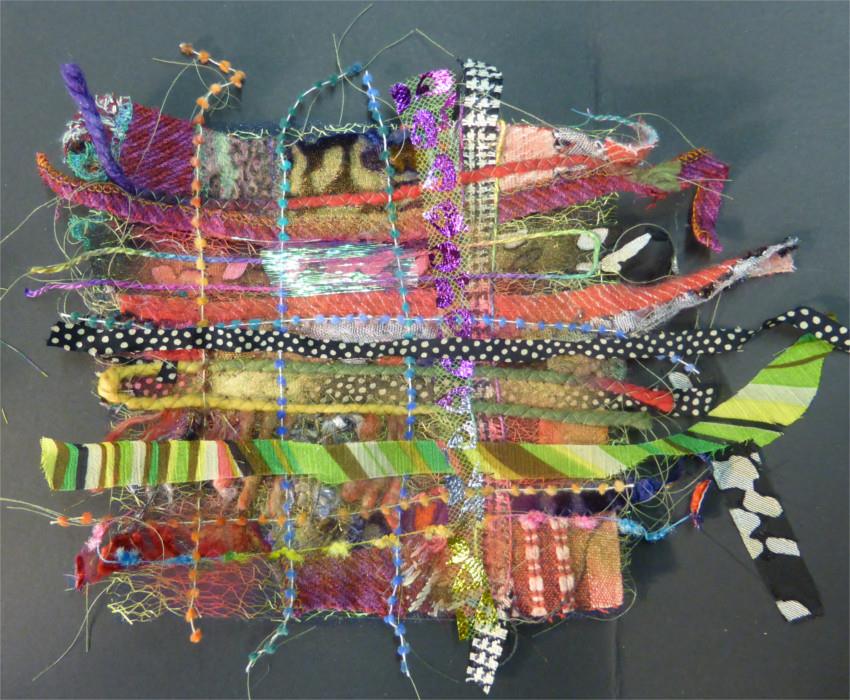
I arrange the scraps on the fabric squares, and when I’m happy I pin them, then stitch them….
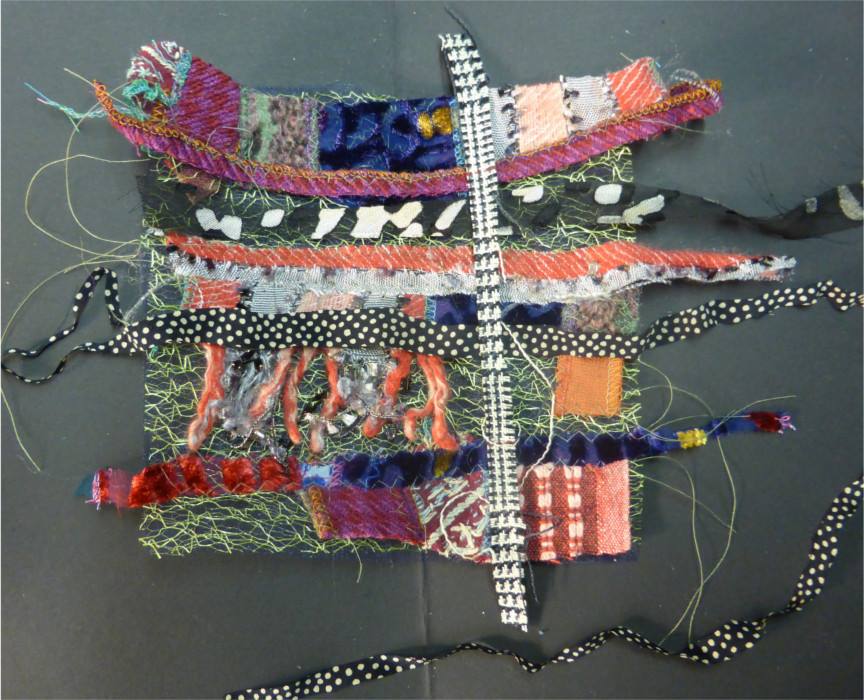
I then added some black and white scraps, just because I like the look of them, polka dots make me smile…
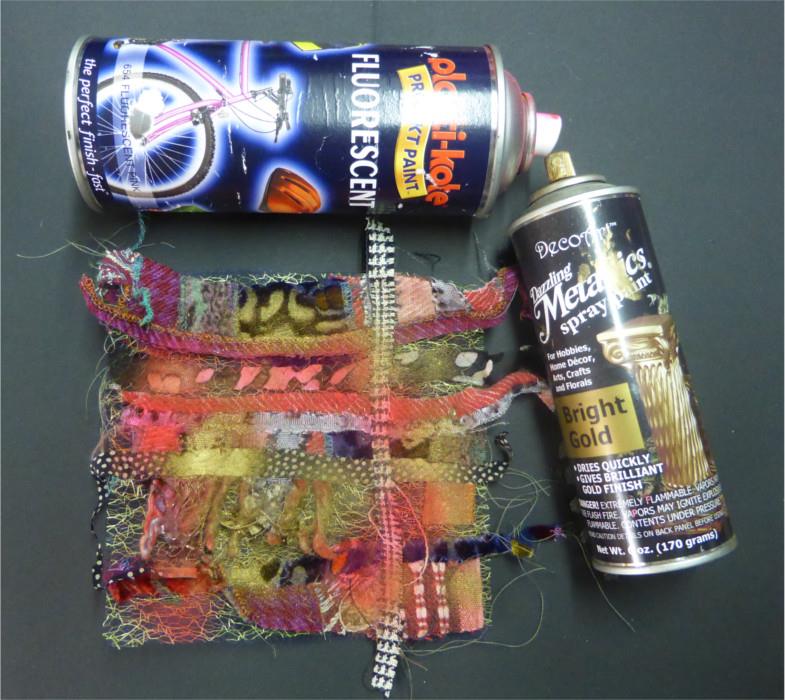
I then sprayed the piece with some paint, I use gold and pink, because they happened to be in the house.. I left it to dry overnight…

next day I gathered some hand dyed silk thread and fancy yarns …….
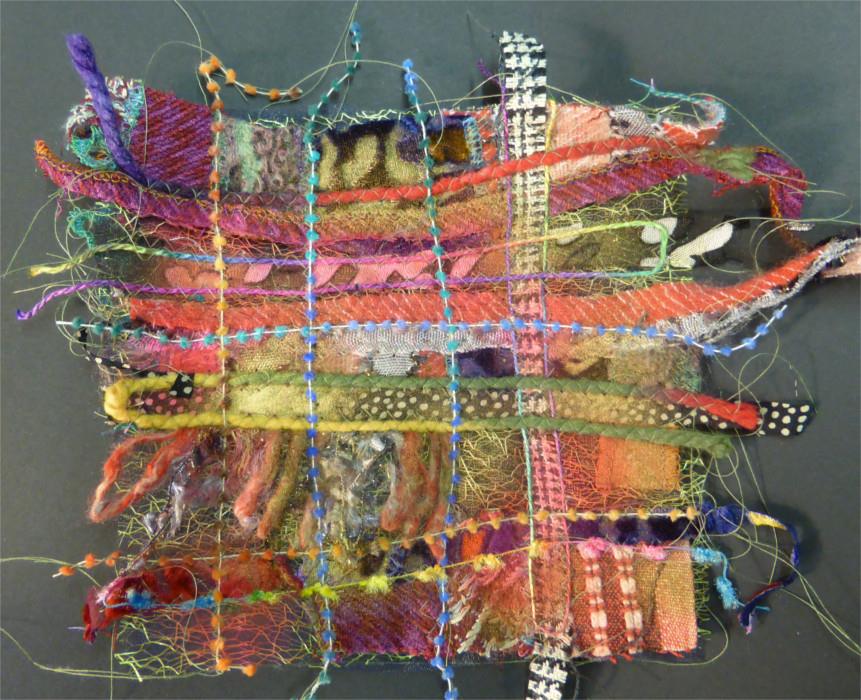
I used the yarn and thread to outline some of the strips, reminiscent of tartan/plaid ? well it is in my head…..
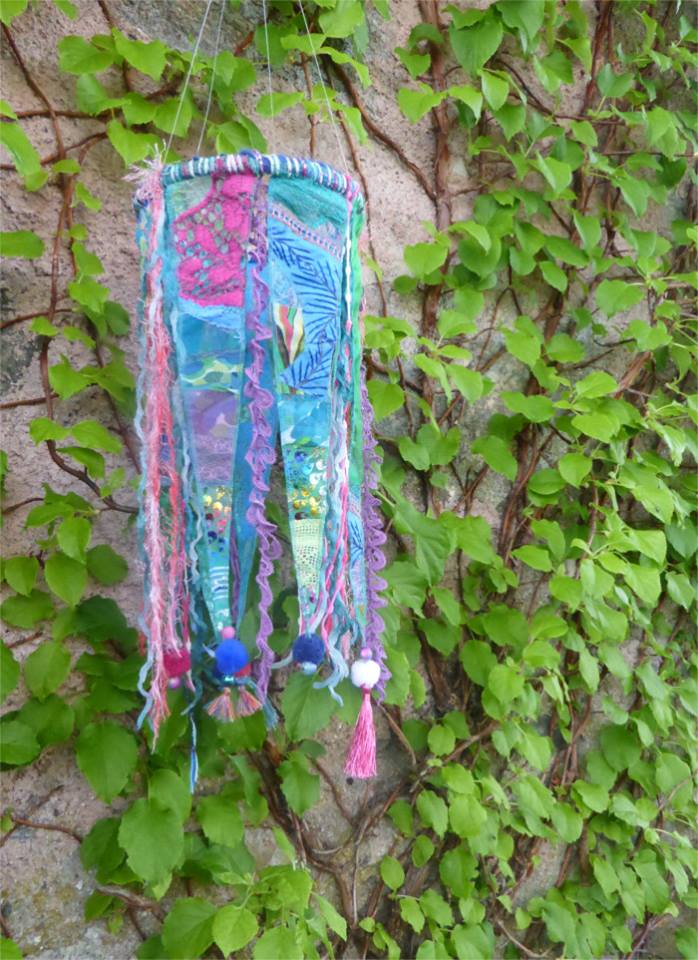
around about the same time I made this textile mobile , so the scraps from it were to hand……
so I added the scraps from the textile mobile to the piece, and an extra strip of polka dot, just because……
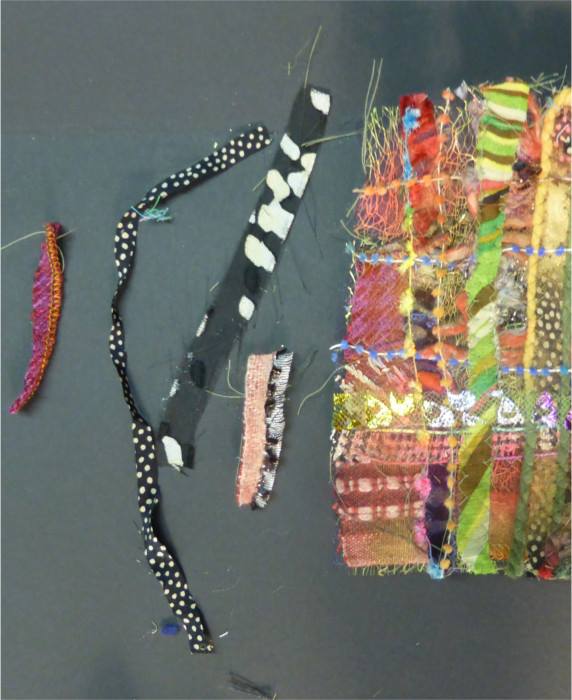
then I trimmed the excess fabric from the edge of the square, and did I bin them? did I heckers like, I put them back into my scrap bag…….
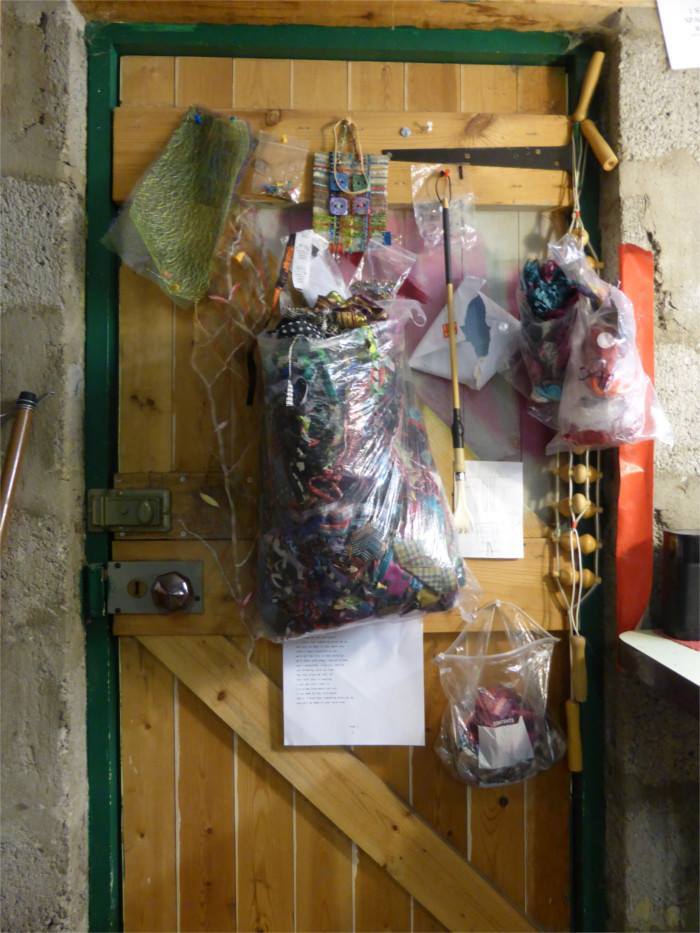
thats a scrap bag pinned to my workshop door….. I have many, many other bigger scrap bags, but this one is full of scraps that I have started saving to make my 5 inch square pieces…. my scrap saving has reached new to overflowing proportions….. this project was meant to use up my scraps, not create more….sigh
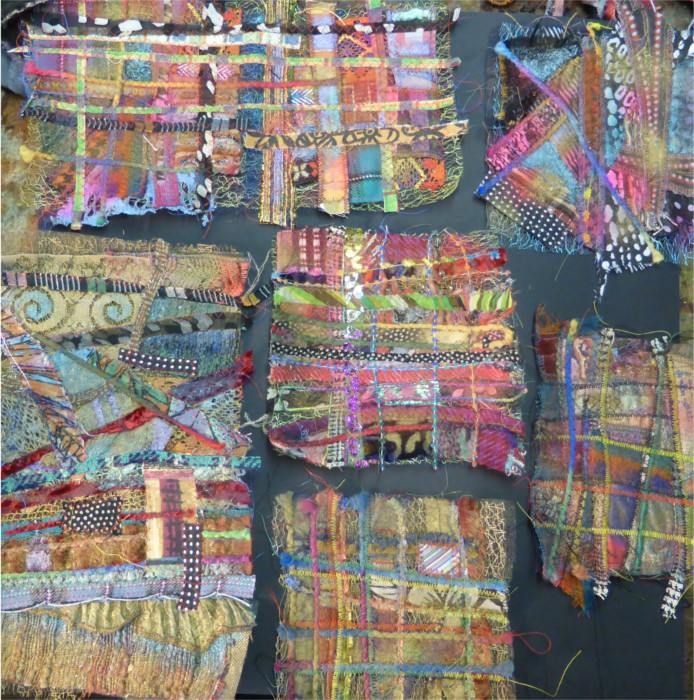
so the piece is now finished ….do I add it to my growing pile of painted pieces that I have vague plans to mount on canvas?
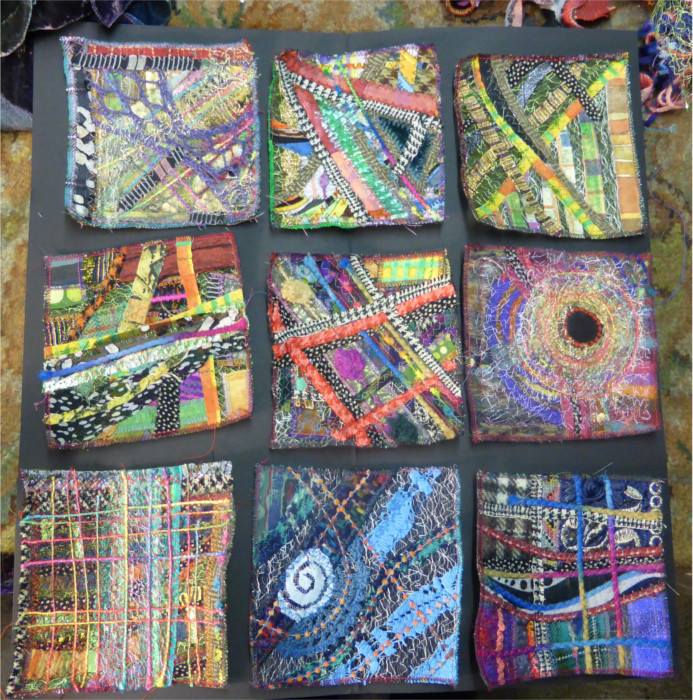
or do I turn it into a 5 inch square for the Made on Monday project, which by the end of a year will yield 52 pieces that I intend to make a wall hanging of?
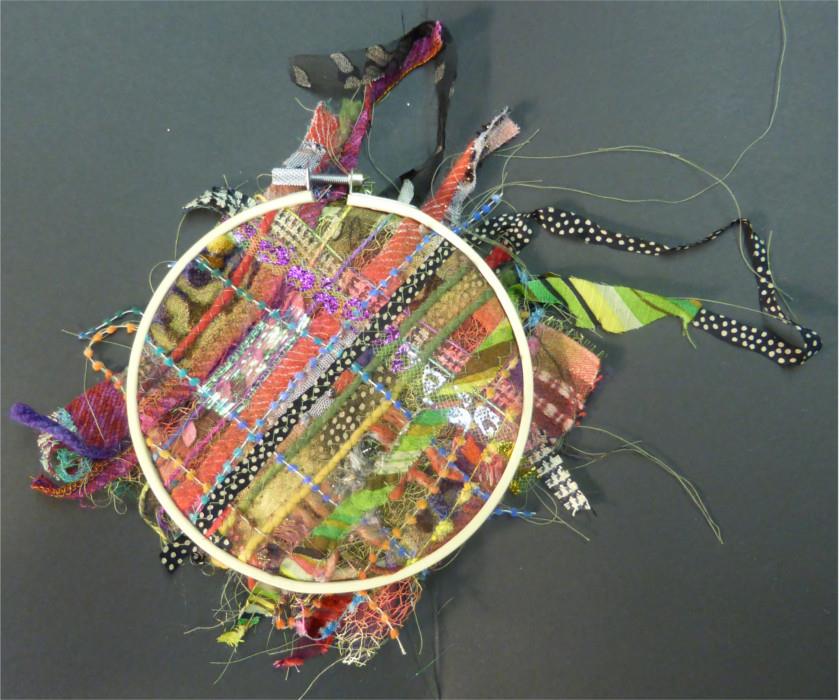
or….do I mount it in an embroidery hoop? if I choose this option the light coloured hoop offendeth me, so it will have to be decorated in some way….. watch this space!
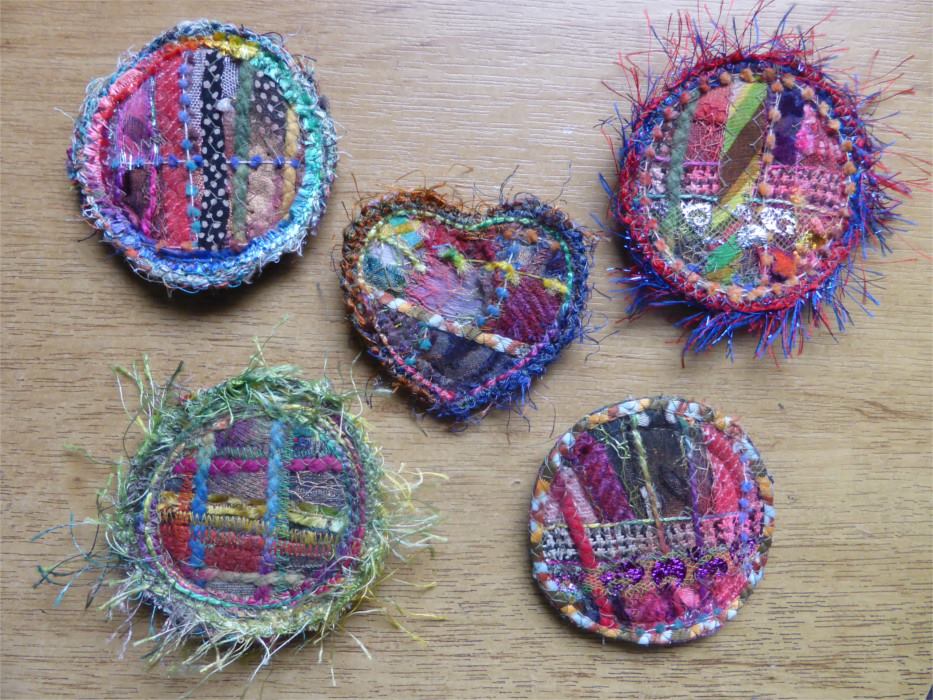
I made some brooches with it 🙂
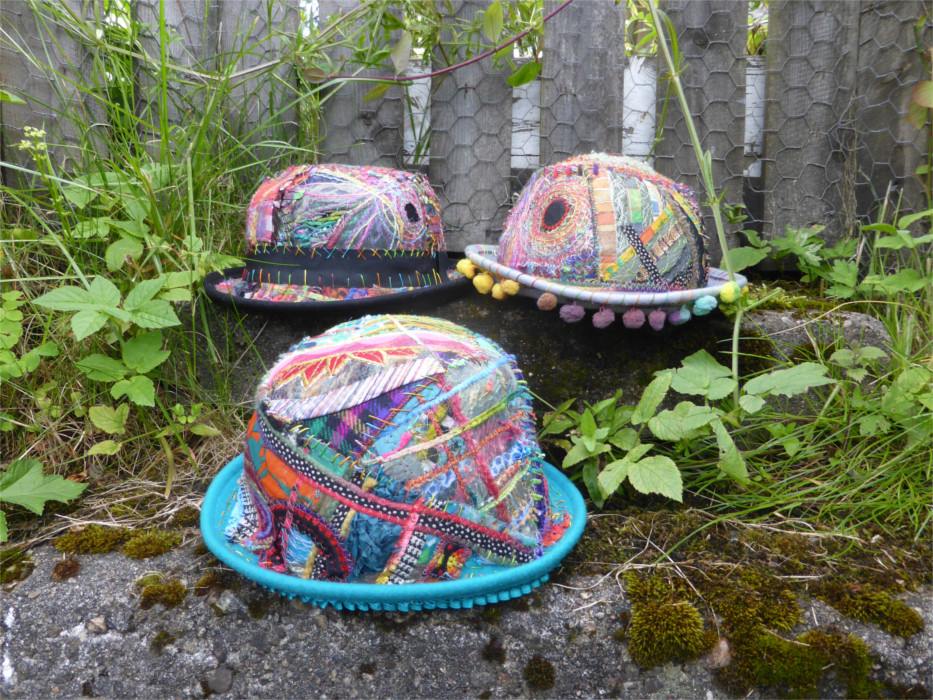
I have also used the scrappy squares on these customised hats, I handstitch them to the purchased woollen hat.
So there we have it, that’s how I ended up with those scrappy brooches.

Wonderful
Loved seeing your process. I adore the rainbow colours you use.
Speechless!
Great to see the process, Fran !
(and what a process it is !)
OK. So there are people like me in the sewing realm kindergarten classes … or abounding in show me curiosity …. You have the piece in your hoop … you trim away all the fringy stray edges and make a neat edge, if you want, sew it zig zag zig zag …. and voila, done? Except for maybe putting on a stabilizing back and the pin to pin it on to jazz up your … anything!
Hi Suzanne, I use a die cut knife and a flypress to cut out the circles. Heavy duty equipment, but it does the job 🙂
That’s for the round ones, the heart shaped ones I do by hand.
I found the answers to my questions somewhere else about your brooches!
Thanks for sharing your process!
Beautiful outcomes from “scraps”.
Inspiring and love your buttons
I am in LOVE with your scrappyness! The amazing fact ….. is that you actually HAD so many, many amazing fabrics! You are a true artist!
What a talent
Love your creations
Waste not, want not
Thanks for sharing your method, i had often wondered exactly how they were done. Happy xmas. x
I love this work. It is such fun!
Thank you for taking the time to read about it 🙂
Thanks for such clear pictures and comments on how you work. Gives us all hope of achieving something unique!
you are welcome Jan, thanks for reading it!